
How to Kitchen Cabinets Install Right
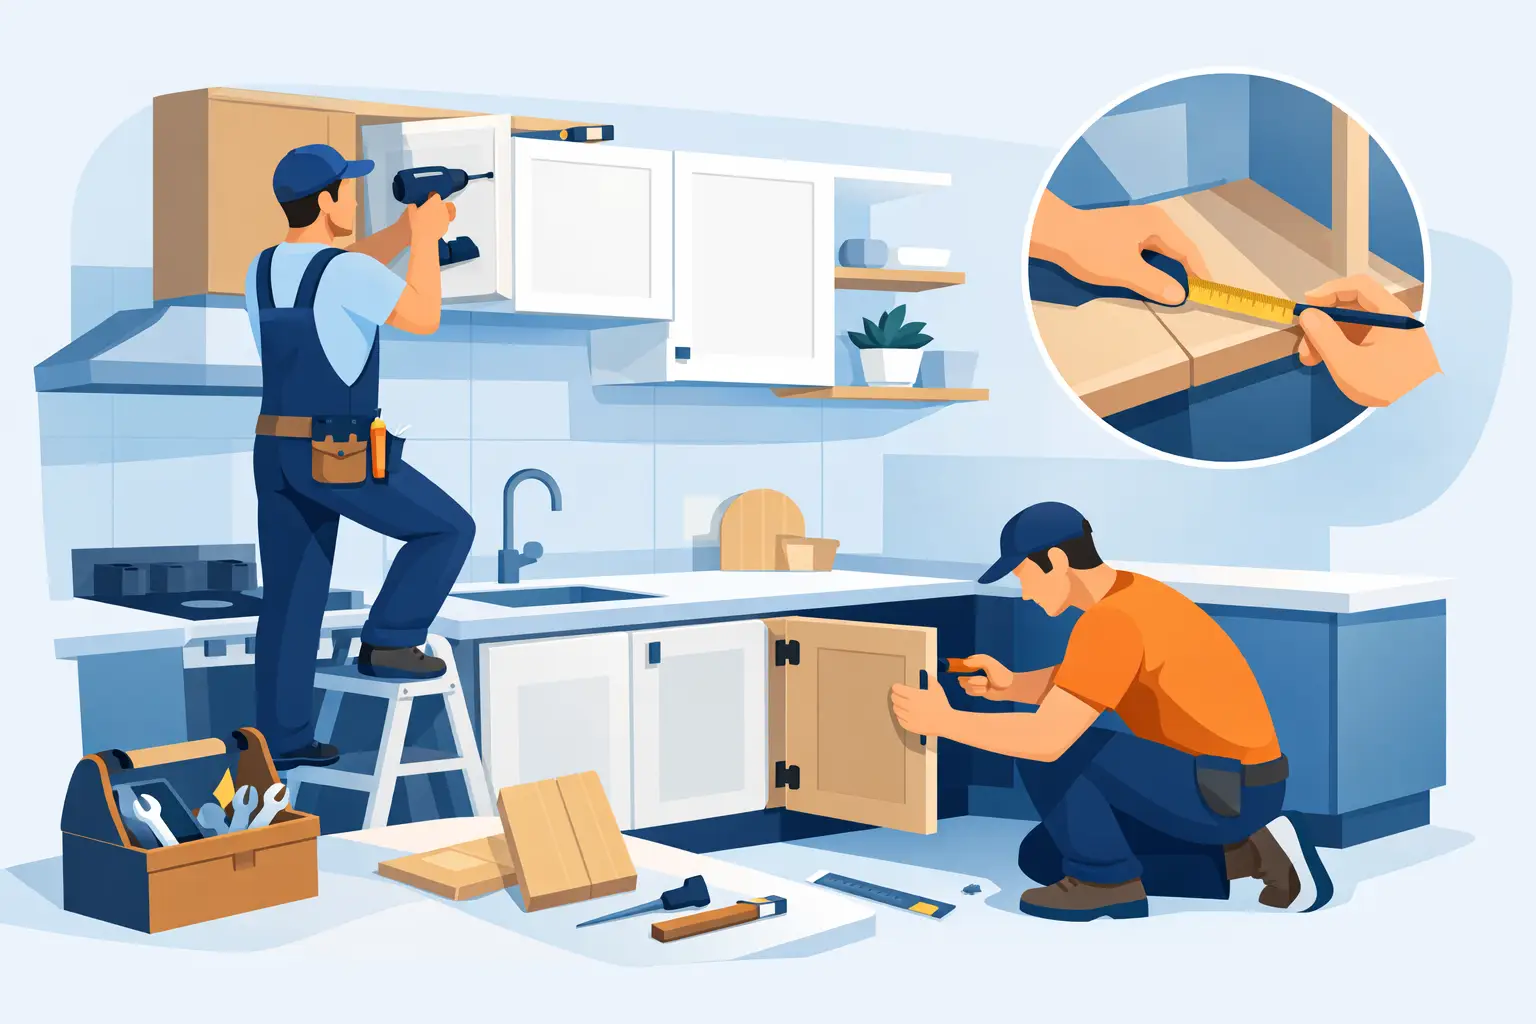
A cabinet install can look simple until the first wall turns out to be out of plumb and the floor drops half an inch across the room. That is where many homeowners realize that learning how to kitchen cabinets install is less about hanging boxes and more about planning, measuring, and keeping everything level from the start.
What matters before you install kitchen cabinets
Cabinet installation starts well before the first screw goes into a wall stud. The room has to be ready. If drywall is damaged, uneven, or unfinished, cabinet alignment becomes harder and the finished look suffers. The same goes for flooring decisions. In some kitchens, base cabinets go in before finish flooring. In others, especially when matching heights around appliances matters, flooring may need to be installed first.
This is also the stage where layout mistakes are easiest to avoid. Appliance widths, sink base sizing, window height, and door swing clearance all need to be confirmed. A refrigerator opening that is off by even a small amount can create a problem that is expensive to correct later.
When homeowners ask how to install kitchen cabinets correctly, the honest answer is that the prep work carries a lot of the job. Good layout work saves time, protects the cabinets, and helps the whole kitchen look intentional when countertops, backsplash, and trim go in.
How to kitchen cabinets install with a proper layout
The first working step is to establish reference lines. Floors are often uneven, and walls are rarely perfectly straight. Because of that, installers do not simply follow the floor line and hope for the best. They find the high point of the floor and use that point to set a level line for base cabinets around the room.
Upper cabinets also need a clear layout line. Standard installation height is often based on the countertop height plus the desired space above it, but there can be adjustments for ceiling height, backsplash plans, or homeowner preference. The key is consistency. If the reference line is right, the cabinets have a much better chance of finishing straight.
Stud locations should be marked clearly before lifting any cabinet into place. This sounds basic, but missed studs are one of the fastest ways to turn a solid installation into a weak one. Cabinets carry real weight once dishes, food, and cookware are added.
A dry fit is worth the time as well. Set cabinets in order, confirm filler locations, and make sure doors and drawers have room to operate. A tight corner can look fine on paper and still create problems once real materials are in the room.
Installing upper cabinets first usually makes the job easier
In most cases, upper cabinets are installed before base cabinets. That approach gives the installer open access to the wall without having to lean over or protect lower cabinets during the process. It is cleaner, safer, and usually faster.
Each upper cabinet is lifted into position against the layout line and fastened through the cabinet back or hanging rail into wall studs. Shims are often needed behind the cabinet to account for uneven walls. Without shims, the cabinet can twist when tightened, which affects door alignment and puts stress on joints.
Neighboring cabinets should be clamped together at the face frames before fastening them to each other. This keeps the front edges flush. If that step is rushed, small differences between cabinet faces become noticeable immediately, especially under task lighting.
There is some variation depending on cabinet construction. Framed cabinets and frameless cabinets install a little differently at the front edges, and heavier custom units may need more hands on site. But the principle stays the same - level first, shim where needed, and fasten securely into structure.
Base cabinet installation depends on the floor more than most people expect
Base cabinets are where uneven floors show up fast. Once the level reference line has been marked, the cabinets are set starting from the highest point of the floor. That prevents a situation where one cabinet ends up too low and cannot be raised enough to match the others without creating a visible gap.
Corner cabinets usually go in early because they establish the run for the rest of the layout. From there, adjacent cabinets are positioned, shimmed, clamped, and fastened together. Installers check level across the tops, front to back, and side to side as they go. A cabinet can appear straight from the front and still be leaning enough to affect the countertop.
Sink base cabinets deserve extra attention. Plumbing locations need to line up with the cabinet interior, and the cabinet itself must remain structurally sound after any cutouts are made. Overcutting for pipes is a common mistake. It weakens the cabinet and leaves unnecessary gaps that are hard to hide.
For long cabinet runs, small alignment issues add up. One cabinet that is slightly off can create a chain reaction down the wall. That is why professional installers keep checking measurements instead of assuming the previous cabinet was perfect.
Fastening, shimming, and alignment are the details that hold the job together
A lot of cabinet installation quality comes down to details homeowners may never see directly. The screws need to be the right type and length for the wall structure and cabinet material. The shims need to support the cabinet fully, not just fill a gap loosely. Doors and drawer fronts need final adjustment after the boxes are secured.
This is where patience matters. Tightening a screw too aggressively can pull a cabinet out of level or damage the material. Leaving a gap between cabinets can affect how the countertop sits. Even decorative panels and fillers need proper fitting, because finish work is what makes a kitchen look complete instead of pieced together.
Trim pieces, toe kicks, and end panels also need to account for the actual room conditions. A wall may require scribing for a clean fit rather than forcing a straight panel against an uneven surface. Those details make a noticeable difference in the final appearance.
Common problems during kitchen cabinet installation
The biggest installation problems are usually not the cabinets themselves. They come from the room. Bowed walls, unlevel floors, off-center plumbing, and previous remodeling work can all complicate the job.
One common issue is discovering that the wall behind the cabinets is not flat enough for a clean install. In that case, shimming may solve part of the problem, but damaged drywall or framing irregularities may need correction first. Another issue is misaligned electrical or plumbing rough-ins that interfere with cabinet placement.
There is also the question of sequence. If cabinets are installed before drywall repair, painting, or flooring planning is finalized, the project can become less efficient. Homeowners often save time and frustration when the cabinet work is coordinated with other interior trades instead of treated as a standalone task.
That is one reason a company such as AP Interior Solutions can be useful on larger kitchen updates. When cabinet installation, drywall work, painting, and flooring are handled with one plan, there is less backtracking and less risk of one trade creating problems for another.
Should you install kitchen cabinets yourself or hire a professional?
It depends on the scope, the tools you have, and the condition of the room. A homeowner with solid measuring skills, the right equipment, and help for lifting may be able to install stock cabinets in a simple, square room. But even then, there is a difference between getting cabinets on the wall and getting them installed cleanly enough for countertops, trim, and appliance fit.
Professional installation becomes more valuable when the kitchen has uneven surfaces, custom sizing, multiple corner transitions, or other connected work such as flooring and wall repairs. It also matters when time is limited. A delayed cabinet install can hold up countertops, backsplash, and final appliance hookup.
The cost question is real, and many homeowners weigh labor savings against doing it themselves. The trade-off is that installation errors can lead to more expense later. A cabinet run that is not level can affect countertop fabrication. Weak fastening can become a safety issue. Poor spacing can leave visible gaps around appliances.
A cleaner result comes from treating the room as a system
Kitchen cabinets do not sit in isolation. They connect to walls, floors, paint finishes, plumbing access, lighting placement, and the daily use of the room. That is why the best installs are not rushed and not treated as a one-step project.
If you are working through how to kitchen cabinets install in your own home, start by evaluating the room honestly. Check for level, check the wall condition, confirm the appliance plan, and think through what other interior work needs to happen around the cabinets. A well-installed cabinet set should look straight, function smoothly, and support everything that comes after it.
The right goal is not just getting the cabinets in place. It is getting the kitchen ready to work the way it should for years to come.
Planning a project in South Florida?
AP Interior Solutions remodels kitchens and bathrooms and delivers flawless painting and drywall across Broward, Miami-Dade and Palm Beach. Free in-home estimates, English y español.