How to Patch Drywall Holes for a Smooth Wall
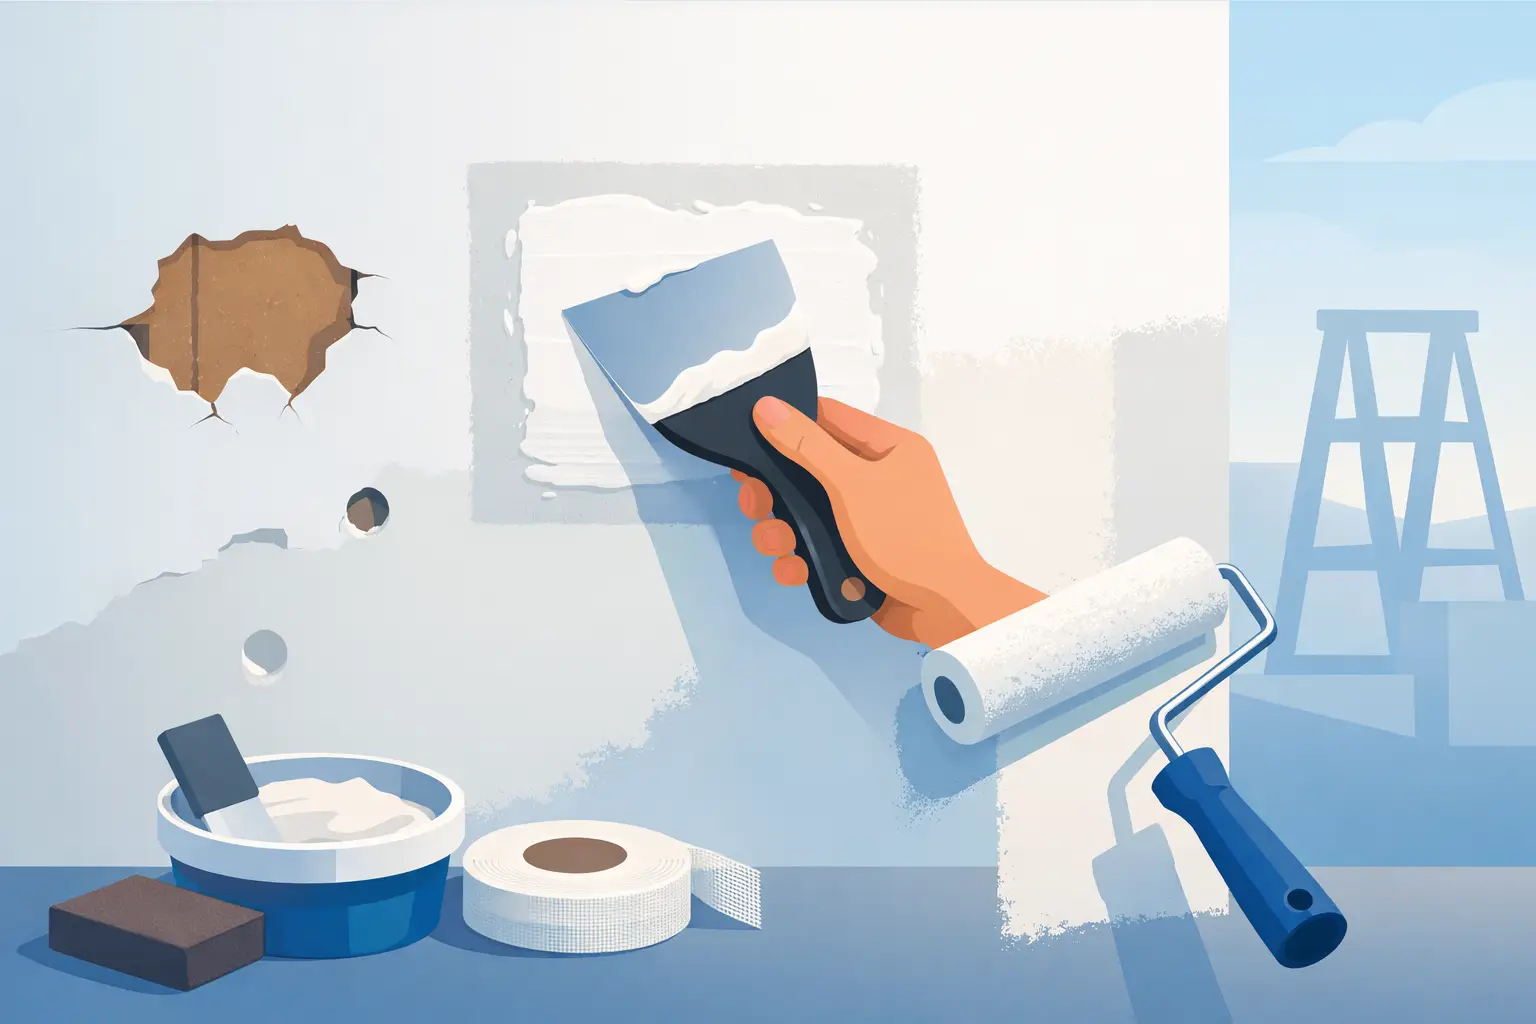
A wall can look unfinished because of one small dent, an old anchor hole, or a damaged area left behind after moving furniture. Knowing how to patch drywall holes helps homeowners restore a clean surface before painting, updating a room, or putting a home on the market. The key is matching the repair method to the size of the damage. A nail hole and a doorknob-sized opening should not be repaired the same way.
A quality drywall repair is not just about filling a hole. It requires a stable patch, smooth joint compound, careful sanding, and paint that blends with the surrounding wall. Rushing any one of those steps can leave a visible bump, cracked edge, or dull paint spot.
Start by Identifying the Size and Cause of the Hole
Before picking up compound, inspect the damage closely. Remove loose paper, crumbling gypsum, old anchors, and anything that prevents the patch from sitting flat. Press lightly around the opening. If the drywall feels soft, cracked beyond the hole, or damp, the visible damage may be part of a larger issue.
Small holes from nails, picture hooks, and minor wall anchors are usually simple cosmetic repairs. Medium holes may need a mesh or metal patch for support. Larger holes require a new piece of drywall secured to backing inside the wall.
The cause matters too. If a door handle repeatedly hits the wall, repair the hole only after adding a doorstop. If water caused staining, bubbling, or soft drywall, find and correct the moisture source before closing the wall. Patching over active water damage can lead to mold, staining, and another repair later.
Tools and Materials for Drywall Hole Repair
Most minor repairs require basic tools: a putty knife, sanding sponge, utility knife, joint compound, drywall patch or mesh tape, primer, and matching interior paint. For larger repairs, you may also need a drywall saw, a small drywall panel, wood backing strips, drywall screws, and a drill.
Use a wider knife as each coat of compound is applied. A narrow knife works well for filling the opening, but a 6-inch or 10-inch knife helps feather compound beyond the repair. That wider, thinner edge is what makes the repaired area disappear after painting.
Pre-mixed joint compound is convenient for most homeowner repairs. Setting-type compound, often called hot mud, dries harder and can shorten wait times, but it sets quickly and takes practice to use well. For a small repair, standard pre-mixed compound is usually the more forgiving choice.
How to Patch Drywall Holes Under 1 Inch
For nail holes, screw holes, and small anchor holes, start by removing any loose material. If an anchor is stuck in the wall, pull it out when possible. For plastic anchors that will not pull free, push them slightly below the surface with a screwdriver, then cover them with compound.
Apply a small amount of joint compound with a putty knife, pressing it into the hole rather than simply spreading it across the surface. Scrape away excess compound so the first coat is nearly flush with the wall. Let it dry fully according to the product instructions.
Sand the area lightly with a fine-grit sanding sponge, then apply a second thin coat that extends slightly beyond the first. Two thin coats generally look better than one thick coat. After the final coat dries, sand gently until the wall feels smooth when you run your hand across it.
Avoid over-sanding. If you expose drywall paper or create a low spot, you will need another thin coat of compound before priming.
Repairing Medium Holes With a Drywall Patch
Holes between about 1 and 6 inches, including damage from removed wall hardware or an accidental impact, usually need reinforcement. A self-adhesive mesh patch is a practical option for this range. Metal-backed patches are particularly useful where the wall needs a firm, flat base.
Trim away loose or torn drywall paper first. Place the patch over the opening, making sure it extends beyond all sides of the hole. Then apply joint compound over the patch using a wide knife. Start in the center and work outward, pressing the compound through the mesh while keeping the coat thin.
The first coat should cover the mesh completely, but it does not need to look perfectly smooth. Let it dry, sand down high spots, and apply a wider second coat. A third finish coat may be needed to feather the repair far enough into the surrounding wall.
This is where many DIY repairs become visible. If compound stops abruptly at the edge of a small patch, the repair can leave a raised square after paint dries. Extend each coat a little farther than the last, and keep the outer edges thin.
How to Patch Drywall Holes Larger Than 6 Inches
Larger openings need solid backing. A patch held only by joint compound is likely to crack or shift over time, especially in an active household area.
Start by cutting the damaged area into a clean square or rectangle. Straight edges make it easier to cut a replacement piece and create a stronger repair. Check for electrical wires, plumbing, or other utilities before cutting into the wall. If you are unsure what is behind the drywall, stop and have the area evaluated.
Cut two wood backing strips longer than the opening. Slide one strip inside the hole and hold it against the backside of the existing drywall. Drive drywall screws through the wall and into the strip near both ends. Repeat on the other side of the opening. The backing should sit securely behind the existing drywall without pushing the wall outward.
Cut a new drywall piece to fit the opening. It should sit flush with the face of the wall, with small and even gaps around the edges. Secure the patch to the wood backing with drywall screws. Do not drive screws too deeply, since breaking the paper surface weakens the hold.
Cover the seams with paper drywall tape or mesh tape. Paper tape creates a strong finish when embedded properly in joint compound, while mesh tape is easier for some homeowners to handle. Apply a bed of compound, press in the tape, and smooth it with a drywall knife. Then apply two or three wider coats of compound, allowing each coat to dry before sanding and recoating.
Sand, Prime, and Paint for a Blended Finish
A smooth repair can still stand out if it is painted incorrectly. Sand the final coat with fine-grit sandpaper until it blends into the wall. Use a work light held at an angle to reveal ridges, pinholes, and uneven edges. A repair that looks flat from straight ahead may show flaws under side lighting.
Wipe away dust with a dry microfiber cloth or vacuum it using a brush attachment. Then apply drywall primer to the repaired area. Primer seals the compound and prevents it from absorbing paint differently than the surrounding wall. Skipping primer often creates a dull, flashing patch that remains noticeable even after two coats of paint.
For best blending, use the same paint color and sheen as the existing wall. Flat paint is the most forgiving, while eggshell, satin, and semi-gloss finishes can reveal sanding marks and uneven texture. If the wall has been painted several times or has faded from sunlight, painting the entire wall may give a more consistent result than touching up only the repair.
When a Professional Drywall Repair Is the Better Choice
Small holes are reasonable DIY projects, but some conditions call for experienced repair work. Large openings, ceiling damage, repeated cracking, water damage, textured walls, and holes near electrical components can require more than a basic patch. Matching orange peel, knockdown, or other wall textures is also difficult without the right tools and technique.
Professional help can be especially practical when drywall repair is part of a larger interior project. If walls need repairs before interior painting, new cabinets, laminate flooring, or a kitchen update, coordinating the work under one remodeling team can reduce delays and help create a cleaner finished result. AP Interior Solutions handles drywall repair and interior finishing work with the preparation needed for a professional paint-ready surface.
Take the time to inspect the repair in natural light before calling it finished. A few extra minutes spent feathering compound, priming correctly, and correcting a small ridge can make the difference between a patch that shows and a wall that simply looks whole again.
Planning a project in South Florida?
AP Interior Solutions remodels kitchens and bathrooms and delivers flawless painting and drywall across Broward, Miami-Dade and Palm Beach. Free in-home estimates, English y español.